Showing posts with label Re-Covered. Show all posts

Monday, October 20, 2014

Updated Kitchen Chair

So I've replaced my kitchen chairs, thank goodness because the old ones were incredibly rickety but we needed a computer chair.  We have a really nice, high back and padded one but in this house the computer is off the kitchen and I didn't want that eyesore there.  Also the computer sits on laminate flooring right above the bedroom of our basement neighbor and I couldn't imagine trying to contain that noise.  So while we're in this house we're using the least rickety chair.

Years ago I gave them a makeover so they looked like this


But now they were dingy and disgusting and I was ready for a change.

Using some foam leftover from the couch I beefed up the padding and found a scrap of fabric in my stash that worked perfectly.

It looks cute, is way more comfy and works great at the computer.
Pin It

Thursday, October 16, 2014

Emerald Ottoman and Pillow

You saw my couch yesterday but that space wasn't quite finished, I knew I needed a pillow and and wanted an ottoman, so I made both.

I followed a tutorial to make the ottoman here and I happened to have an end table that I could use. We've had it since we were first married and I didn't ever love anything about it.  It suited our needs but it was orangey, boxy and too tall.  The top had also got pretty scratched up after all our moves so this was the perfect use.  I chopped off the legs, painted them and then followed the tutorial above. I have possible plans to jazz up the legs a bit but I'll show that if it eventually happens.

Also it turns out this fabric is really hard to photograph and this is the only picture I took that is usable.  The fabric is satin which is a pretty risky choice but it was all I could find in the right colour, I don't imagine it will last terribly long but I'll hope for the best.

My favourite part of this project was when I let Catie prime the legs for me, she was so proud of herself and did a surprisingly good job though she was really unimpressed when she couldn't get the paint off her hands (not water based).

I found a small pillow at Value Village that was the perfect size and covered it in the same fabric, using piping around the entire thing.  I think it's incredibly boring and I really wanted to do something with pleats but decided in the end that the couch and ottoman had enough going on and left the pillow plain. I'm sad it's boring but I think it's the right design move.

So now you've seen the couch and you've seen the ottoman, let's put them together.
First, here's how the corner looked when we first moved in.  You can see the table/soon to be ottoman in by the couch. Pretty hey?  I think people thought I was crazy to put all that random stuff together, and that rug look so awful with the couch :)

With all the changes it now looks like this and it's my favourite spot in the house. Notice the new lampshade I scored for $8 and the slouchy basket to keep a cozy blanket in.

And a couple more photos for good measure.


Now I just have to keep little girls with messy hands away.

**Update** I've been using this ottoman for about a month already and I really dislike it.  The fabric is all wrong (that's what I get for trying to use satin). 4 of the covered buttons have popped off, there are water marks, the fabric doesn't hold the pleats and it's an all around failure.  I've already ordered new fabric so an update will be coming. Hopefully take two will be more successful.
Pin It

Wednesday, October 15, 2014

Love Seat Reupholstery


So I moved into this new house and it has a bonus room upstairs and room for a sitting area off the kitchen.  I only have one set of couches though so I thought I'd do a quick search on Kijiji and see if I came up with any little love seat's for a good price.  This beauty was waiting for me, two of them in fact, and even more amazing, they were free. I had only planned on taking one but Mom convinced me to get both, one for her, one for me and we'd re-cover them together. I've never re-covered a couch but I've felt like all my projects have been leading me in this direction and it was inevitable. It killed me to have it sit in the garage for a month until I had fabric/time/moved into the house.


I called a friend and she so willingly offered her husband and his truck to go pick it up with Brad and I was set.  It was only used in an office, meaning it was in great condition though the padding on the arms was pretty weak but I loved the shape of it, now to decide on fabric.  I knew I wanted to go with something dramatic, I wanted a statement piece, something showy and not even a little bit safe and I'm also in love with emerald green right now.  With that in mind I searched and came up with Bankura Emerald, it was love at first sight :)

I suppose I should prepare you now for a ton of photos that are to follow and probably more detail than you wanted.

First lets see how the couch fit in the space.

Despite being super ugly it really is the perfect size and if you have a little vision you can see how that mess above will turn into something awesome.  So notice those couch legs?  (the crooked one is only crooked because it had to be removed in order to fit in the house) Apparently it wasn't tall enough so they added some painted 4x4's as legs, awful and they were first to go.  I found some curvy legs to replace them and then the staple removing started.  Two days of it to be exact, that is a serious job that I don't wish on anyone.  My hands were sore by the time we were done and I think there were about 1000 of them, but we finally got it to look like this.

The foam on the arms was disgusting though and disintegrated if you looked at it leaving an orange, crumbly mess everywhere so we bought a eggshell mattress pad and used that to cover up that ugly grossness. Eden's favourite activity was to hit the arm and watch the foam fall. The back wasn't too bad so we left it as is though we did cover it with a layer of batting later. The seat got some new batting too so it looked like this. Better already.

From there the real fun started though.  The seat was first and then the arms and they were super satisfying. The green piping really makes them pop.

It's coming together.

And here's my Mom, she was the main stapler while I was the sewer and cutter and everything else-er. So Mom keeps getting mad at me because I only ever post pictures of her in her work clothes, I promise she owns other clothes :)

The back was the most satisfying though, it starts out looking like this, a hot mess hey?

Then you add some burlap

Some batting and fabric until you get this really professional looking finished piece, though I didn't have quite enough fabric and if you look close my back is in multiple pieces. Not as noticeable as you would think though.

And here it is, all finished with the new legs.

My favourite part is how the pattern on the back looks like one piece and it continues up from the seat, that was definitely not an accident.

 I love the puffy back.

And how about a side by side comparison.

It looks so much better in the space but you'll have to wait to see that until tomorrow, I have a couple accessories to show you first.

Moral of this story, if you think you can re-cover a couch you are right. Now my couch was easier than some because it doesn't have removable cushions but that still would have been very doable.

Here are my inexperienced tips if you decide you want to try this.

  1. Use the right tools.  Mom has one of these staple remover that was worth it's weight in gold, I was wishing I had one too, her hand was far less sore than mine, I just used a screwdriver and pliers.
  2. Don't even attempt this without a pneumatic stapler (one that hooks up to a compressor). You'll hate the process if you have to pound in every one with a hammer after.  Ours worked like a dream.  
  3. Give yourself lots of time, this took almost 4 complete days.
  4. Don't take shortcuts.  You'll spend a lot of money on fabric and probably some on a couch too, it's not worth a shortcut if the end result is compromised. Working with someone else really helped with that, we kept each other from doing things improperly and we would also remember steps that the other person forgot.
One last point, I mentioned above that we re-covered a couch for my Mom too but we didn't have enough time to finish hers before she had to go home so you'll have to wait a bit to see hers, it's awesome too though in a completely different fabric.

Pin It

Thursday, August 2, 2012

Bassinet Re-Cover

It's been a long time since I've done a good re-covering project.  While I enjoyed this particular one I would have enjoyed it a little more had I not been so pregnant, that belly sure gets in the way.  A friend of mine (whose even more pregnant than I am) has this baby coming and there was no where for it to sleep so it was time to get cracking.

Turned out this bassinet is exactly like the previous one I worked on which made this extra easy.  The bed was for a baby boy which meant there was no need for pleats or ruffles so again, extra easy.

Here's the final product.

And let me show you how this lovely bed started.

Nice hey?  I particularly like how floppy the canopy is and how much excess fabric there is there, and what's with the random gingham on the canopy?

Noah's Ark ruffle?  Really?  Clearly that had to go.

I went with a really simple design here using some piping to add a little interest yet still keep it masculine.  She didn't bring me the stand or the cushion cover so you'll have to imagine it but the cushion has been re-covered in cream minky.

And one more before and after


I love how this turned out and I can't wait to see the cute boy sleeping inside it.


Pin It
  Linking To Monday - C.R.A.F.T., Making The World Cuter, Polly Want a Crafter, Simpsonized Crafts, Sugar Bee Crafts, Sumo's Sweet Stuff, The Girl Creative   Tuesday - All Things Related, Creative Itch, Domestically Speaking, It's Sew for YouLadybug BlessingsSassy Sites, Today's Creative Blog, This & That, Topsy Turvy    Wednesday - Blue Cricket Design, Me and My Bucket   Thursday - A Glimpse Inside House of Hepworth, It's Sew Stinkin Cute, Lemon Tree Creations Somewhat Simple, The Train to Crazy, What Allie's Making Now   Friday - Creation Corner, Finding Fabulous, Tatertots & Jello, The CrEaTiVe CraTe

Monday, June 25, 2012

Re-Covered Pillows

A friend of mine had some old pillows from an old couch and she had some great outdoor fabric and asked if I could combine the two to make something beautiful.

I think I was successful. 

The pillows started out like this.  You can see that there are four from a couch and two others that she had hanging around.  


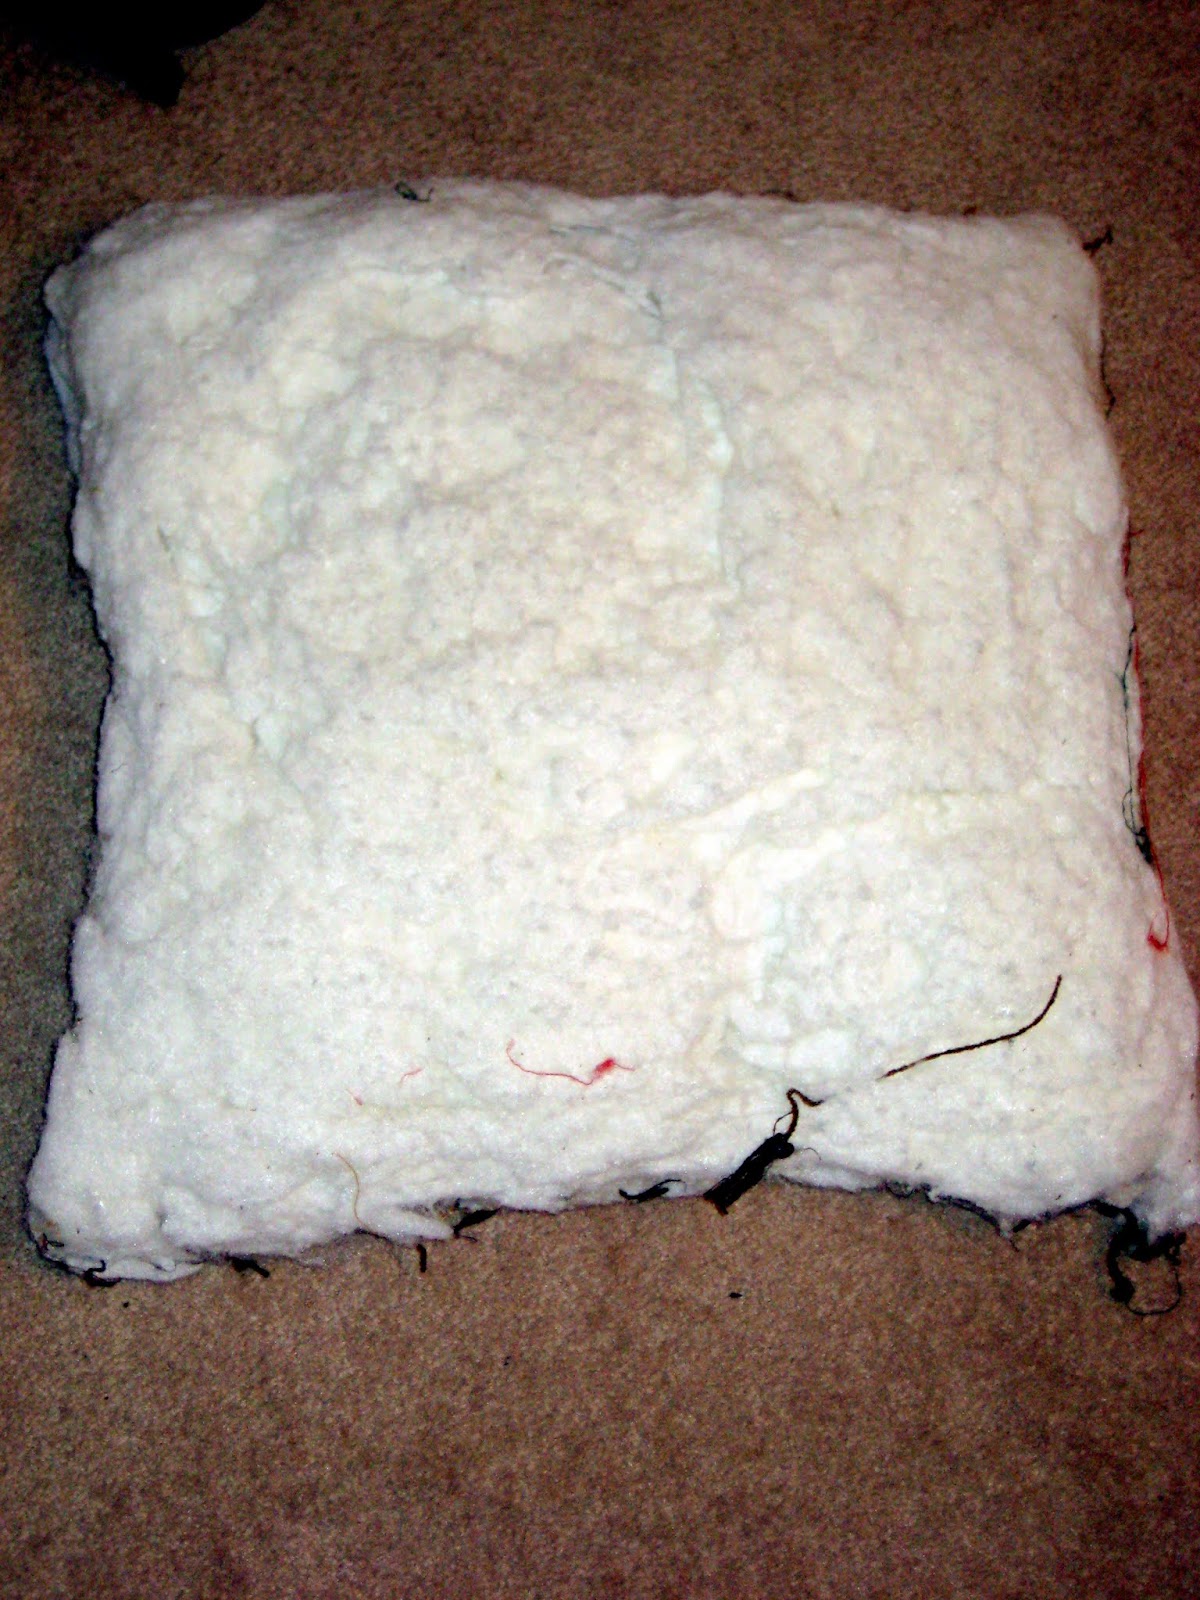
I started with the couch pillows, sliced open the fabric and groaned, already dreading where I was going to go from her since inside I didn't find a pillow form but a messy semi square of old batting.


I knew I'd need to first cover the batting so I got some broadcloth.  I made a large rectangle (the size of the pillow only twice as long), folded it in half and sewed up the two sides.  I flipped the now square fabric inside out, inserted the batting and sewed the third side shut.  To prevent fraying I used my pinking shears on the one exposed seam and called them good.  

These covers were crazy quick and made a huge difference when inserting into the final pillow cover.


Next up was the piping.  Let me tell you something, I HATE making piping.  I really wanted to just buy some but I couldn't find any pre-made that matched and I did need 12 meters.  I found some green fabric that matched perfectly and was really cheap, I used 1/2 a meter and had a little left.  While I love the way the piping turned out it was easily the worst part of this project, took longer than I wanted and I was annoyed the entire time.


Once I made the piping I made covers using the new fabric, I hand stitched the opening closed and ended up with some really great looking pillows.  I took a lot of care joining my piping and I was really pleased with how it turned out, I think it's the best I've done.  Look at that beautiful join.


One last after photo, a huge improvement and they'll look great on her patio furniture.

Thursday, August 4, 2011

High Chair Re-Cover Take 2

My first high chair re-cover was difficult.  It was awkward and not easy but the result was beautiful so I happily tackled my Mother-in-law's high chair anyway, the one that Catie uses daily.  Turns out that everything that made the last high chair difficult wasn't present in this chair so it went really smoothly.  For the last chair I used a vinyl fabric, wipe able but a serious pain to work with since you can't use pins and it doesn't feed through a sewing machine easily.  It also used a really thick piping that was horrible to put in and broke a bunch of my needles, this chair had some cute pleating instead and we went with a simple cotton that can easily be thrown in the washing machine.  It was easy and awesome, perfect.
The original seat wasn't as ugly as it could have been but it also wasn't interesting to look at.  I personally don't want teddy bears in my kitchen decor if I have a choice.
Like every other re-cover I took the old seat apart and used it as a pattern for my new pieces.  I put them back together re-using the backing fabric, the batting and the binding.  This high chair does have straps but we never use them anymore so they're always tucked under the fabric.


Another finished shot. The flowery fabric was the first I saw as I walked into the store and I loved it instantly.

And proof that Catie approves, she climbed up to check it out (yes, those are pajamas and yellow rain boots).


Linking To Monday - C.R.A.F.T., Making The World Cuter, Polly Want a Crafter, Simpsonized Crafts, Sugar Bee Crafts, Sumo's Sweet Stuff, The Girl Creative   Tuesday - All Things Related, Creative Itch, Domestically Speaking, It's Sew for YouLadybug BlessingsSassy Sites, Today's Creative Blog, This & That, Topsy Turvy    Wednesday - Blue Cricket Design, Me and My Bucket   Thursday - A Glimpse Inside House of Hepworth, It's Sew Stinkin Cute, Lemon Tree Creations Somewhat Simple, The Train to Crazy, What Allie's Making Now   Friday - Creation Corner, Finding Fabulous, Tatertots & Jello, The CrEaTiVe CraTe

Tuesday, August 2, 2011

Brendan's Saucer Chair

I've done more than one of these chairs now so I feel like a bit of an expert, this one only took one nap time and there weren't any snags along the way.  

It was slightly painful for me though, normally I'm getting rid of the commercialized fabric, not adding it.  At least it's a stylized Spider Man and not the classic and my nephew Brendan loved his little chair.


Bad blogger, I forgot to take a before but it looked like this, only in worse condition.


The legs were purple so we spray painted them black and we lucked out with the binding, no one had thought to buy any but Mom happened to have one package of the perfect colour on hand.  I ended with inches left over.


I always make my new covers removable and I do that with snaps so here are a couple pictures of the underside so you can see what I've done.

And one more after of the manly saucer chair.


  Linking To Monday - C.R.A.F.T., Making The World Cuter, Polly Want a Crafter, Simpsonized Crafts, Sugar Bee Crafts, Sumo's Sweet Stuff, The Girl Creative   Tuesday - All Things Related, Creative Itch, Domestically Speaking, It's Sew for YouLadybug BlessingsSassy Sites, Today's Creative Blog, This & That, Topsy Turvy    Wednesday - Blue Cricket Design, Me and My Bucket   Thursday - A Glimpse Inside House of Hepworth, It's Sew Stinkin Cute, Lemon Tree Creations Somewhat Simple, The Train to Crazy, What Allie's Making Now   Friday - Creation Corner, Finding Fabulous, Tatertots & Jello, The CrEaTiVe CraTe