Wednesday, November 10, 2010

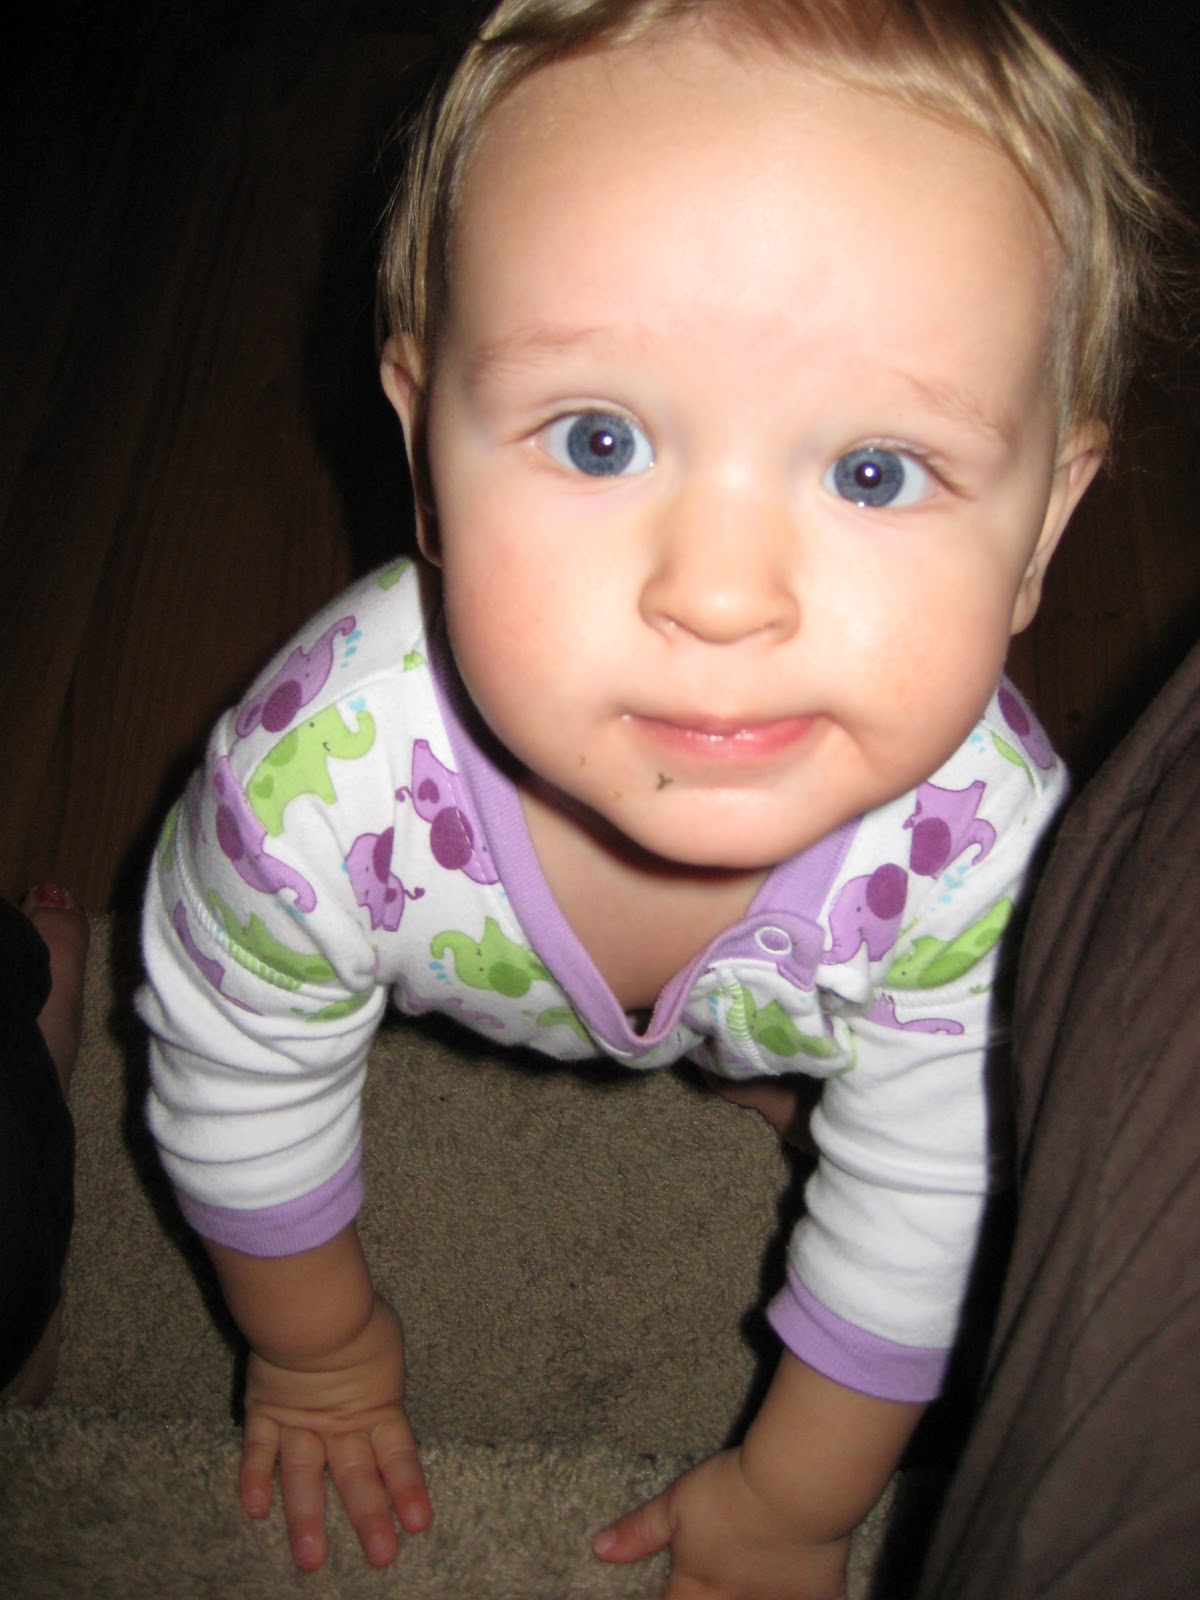
What Catie Wore Wednesday #14

14 weeks... It's really a long time.  I'm not sure how the Pleated Poppy has continued on for so long because I'm feeling right sick of photographing and trying to put her in something new every day.  This will be my last What Catie Wore for a while, perhaps I'll come back to it since I really need a break.

It's good timing because on Wednesday's for the next 4 weeks I"ll be posting my progress on the advent calendar in my sew along with Jill.  Perhaps we'll re-visit Catie's wardrobe once that is finished.

So enjoy this last week, even if I gave up and quit on Sunday.

Wednesday

Purple T - Walmart
Brown Pants - Old Navy

(she loves to be pushed on her little car)

Thursday
Yellow Sweater - Old Navy
Embroidered Jeans - Espirit
Brown Shoes - Walmart

Friday
Long Sleeve Onesie - Carters
Sweater Vest - H&M

She really did wear pants most of the day, Old Navy Jeans to be specific.

Saturday

Navy Top - Gap
Jeans - Old Navy

She loves to push that basket around and fill it with her toys

Sunday
Headband - Made by Me
Pink Sweater - Old Navy
Striped Shirt dress - Old Navy
Brown Shoes - Walmart


Linking up to

the pleated poppy blog

Monday, November 8, 2010

Pulled Pork Tacos - SAMM

I know there has been a serious lack of posts lately but like I mentioned I really had run out of projects.  It's not that I've been doing all this stuff and not linking it, I haven't been crafting at all except for one easy Christmas present that I can't link or I ruin the surprise.  I do have some fun things coming though.  If KD ever gets me her car seat I really will re-cover it, I'm gearing up to work on my first High Chair re-cover and I've decided to sew along with Jill and make this awesome advent calendar.  We had one growing up that was similar and we loved it, would fight over who got to put the numbers up, hopefully Catie enjoys it too (maybe next year though, she's pretty little).

Today is Monday so time to link up to Michelle's SAMM (Share a Meal Monday)
I'm linking a staple recipe in our house that is seriously yummy and easy, easy.

Pulled Pork Tacos


This is a slow cooker recipe so into the bottom you toss the following ingredients.  An onion, chopped, 2 Anaheim peppers, chopped (the recipe calls for Pablano but I can never find them so we use Anaheim instead, don't worry they're not spicy). 2 Tbsp Worcestershire sauce, 2 Tbsp lime juice, 3 garlic cloves, smashed and 1/4 cup of chopped cilantro.  I don't measure any of those ingredients though, this is almost no fail so I just eyeball everything.

Once that's done (or in my house, I do that while Brad does the rub) you're going to mix up the spice rub for the pork.  I won't list all the spices here because they're below but one note, it calls for Emeril's Essence spice mix.  I don't know about you but I don't have that handy so I Googled it and found a recipe, I included that below as well.  The first time I made this rub I just looked at the ingredients for the Essence, crossed off the ones I'd already mixed together and threw a little of those new ones in.  Now that we make this so often I actually mixed up a big batch of Essence and just use the 4 tsp like the recipe calls for.  Both ways were delicious though.

Once your rub is all together you just do what the name suggests, rub it all over the pork.  Cover all the sides well (before you rub you can trim some fat if there is lots, mine was pretty good so I didn't bother).  You could also choose to sear the pork once it's rubbed, I've done it before and honestly didn't notice a difference in flavour but you might and I'm sure it's what professionals would recommend.  Put your roast on top of your chopped stuff and cook for 4-6 hours on high.  I usually do all of that the night before so the rub can soak in really well.  Then the morning of you can just remove from the fridge and turn the slow cooker on. .

Here's what it looks like all ready to cook.

So I had great intentions to take pictures all the way though and show what the roast looks like after it's cooked but before removed from the crock pot but I forgot.

This roast was a big one and only took 5 hours to cook, you know it's done because it will flake apart really easily with two forks.  I also like to check on it halfway through and rotate the pork so all that yummy rub mixes with the juices.

So once it's done your remove the pork and shred it with two forks then toss it back in the slow cooker with all the juices and you're ready to serve.

(this picture doesn't do them justice, it's so yummy.  I just ate them for dinner and this post has made me want more)

Take flour tortillas and top them with your pork mix and everything you would normally put on a taco.  A warning, these can be pretty messy.  We served them to company we don't know that well so I removed most of the juices and just made the mix moist but it wasn't nearly as good, I put all the juices back in our leftovers.

This recipe makes a lot.  We ate it with another couple and then ate it for lunch the next day, lunch and dinner the day after that and put the remaining in the freezer because there was still tons left.  We also felt like our tortillas were starting to dry out and we were out of lettuce so on the last day of leftovers we made it into quesadillas instead and it was AWESOME.

It's fun because it's a new variation on tacos that's just as easy.


Pulled Pork Tacos

4-6 pound Prok Butt or Shoulder (I usually grab the biggest one they have)
2 Poblano Peppers, roughly chopped
1 large Onion, yellow, roughly chopped
2 tablespoon Worcestershire sauce
2 tablespoon Lime Juice
3 cloves Garlic, smashed
1/4 cup Cilantro, chopped
4 teaspoon Salt,
2 teaspoon Pepper, black, divided
4 teaspoon Cumin, divided
4 teaspoon Emeril's Essence or similar spice mix, divided

Emeril's Essence
2 1/2 tablespoons paprika
2 tablespoons salt
2 tablespoons garlic powder
1 tablespoon black pepper
1 tablespoon onion powder
1 tablespoon cayenne pepper
1 tablespoon dried leaf oregano
1 tablespoon dried thyme

To the slow cooker add onion, garlic, poblano peppers, Worcestershire sauce, lime juice, and cilantro. Season each side of the pork with half the seasonings and place in slow cooker, fat side up. Cover and slow cook on high for 4 to 6 hours until tender. Before serving, remove as much fat as possible from the pork then shred with two forks.

Warm flour tortillas in microwave and top with pork, lettuce, tomato, cheese, sour cream, avocado and salsa.  You can also squeeze some extra lime on top and some chopped cilantro.  Wrap and serve.


Linking to Share a Meal Monday

Wednesday, November 3, 2010

What Catie Wore Wednesday #13

Sorry but this week I forgot to take a bunch of photos.  We were out of town and I got distracted so this is all you get.  I'll try harder next week.

Thursday
White Long Sleeve Onesie - Carters
Grey Sweater - H&M
Embroidered Jeans - Esprit


I thought this photo was too cute to leave out.

Friday

Sweater - Mexx
Navy Skirt - Gap
Cream Tights - Sears
Brown Shoes - Walmart

Saturday
Brad went to visit where he used to work and Catie helped out.

Striped T - Old Navy
Jeans - Old Navy

She's also wearing her Halloween costume here
Lab Coat - Made by Me
Stethoscope - borrowed from Rihannon

Monday

I could not get motivated to do anything today, including put real clothes on Catie.  She spent the entire day in her sleeper from sears.

Tuesday

White Long Sleeve Onesie - Carters
Ruffle Shirt - Please Mum (I'm pretty sure it's supposed to be a dress but it's ridiculously short so she's wearing it as a shirt instead)
Skinny Leg Jeans - Children's Place

Tuesday, November 2, 2010

Sharp Rotini Mac & Cheese - SAMM

I know, I'm a day late for SAMM (Share a Meal Monday) but yesterday I could not get motivated to do anything.  I didn't want to go without sharing one of our favorite meals though.

My Mom loves Macaroni and cheese, not Kraft Dinner but good, homemade cheesy mac and cheese.  It's probably because of her love that I've known how to make a really good cheese sauce for as long as I can remember.  I've made a bunch of different variations on the classic but this one easily stands out as our favorite.

I haven't actually made it in a while so there won't be any pictures but it's super yummy and you should give it a try.

Sharp Rotini Mac & Cheese

2 cups rotini pasta
3 tomatoes, diced
4 strips of bacon, fried and crumbled
2 green onions, finely sliced on an angle (they're prettier on an angle)

Sauce:
2 tbsp butter
2 tbsp all-purpose flour
1 1/2 cups milk
1 1/2 cups chicken broth
1 tsp of dried mustard
Salt & Pepper to taste
2 cups extra aged cheddar cheese, grated (it's a white cheese)

Cook your pasta according to the directions, while it's cooking make your sauce.

Heat a pot over medium-high heat. Melt butter and add flour and whisk well. Season with salt, pepper and mustard and let cook a minute. Whisk in milk and broth and bring to a boil (you could use all milk but the broth makes it a little lighter and less fatty).   Lower heat and add cheese, stirring to melt.

When your pasta is done drain and I like to add my green onions immediately to the hot pasta so it has some time to wilt. Stir in your tomatoes, bacon and add your cheese sauce.  I like to save the bacon until the last minute so it stays yummy and crispy.  Once everything is mixed go ahead and enjoy.

You could also pour it into a casserole dish, top with breadcrumbs mixed with melted butter and bake until they're nice and golden (about 20 minutes) but I can never wait to eat and so we always skip this step.

This picture doesn't show the bacon, tomatoes or onions but other than that it's pretty close to the end result.

Linking to Share a Meal Monday

A Leash For Mr. Brown

I've talked about him before but let me properly introduce Mr. Brown.

When Catie was born her cousin Riley gave her one of his Teddy bears and he became known as Mr. Brown.  One day Catie carried him to bed with her and I didn't take him away.  Since them she's slept with him and is very attached.  The original Mr. Brown wasn't very nice though, he was cheap and kind of gross and his hair fell out and he smelled and I couldn't handle him any longer so we took Catie to Toys R Us one day and let her choose a new stuffed animal.  We really wanted her to love something unique like the adorable pink pig we pulled out but she showed an obvious preference to the classic brown bear.  We switched the bears, retaining the name and her love for him only grew.  Now he's essential for nap time and don't you dare think of stealing him because it will cause a meltdown.

We have a strict rule that Mr. Brown only gets played with at bed time and diaper changes (she's a really wiggly girl, Mr. Brown helps).  The one major exception to this rule is long car rides.  We go to Calgary often which is a couple hours drive and Catie hates the car.  Mr. Brown helps make the trip more bearable for her but there is one huge down fall to him being in the car.  She often drops him or when she gets really frustrated throws him repeatedly.  That means I'm left to awkwardly reach back to retrieve him to hopefully put an end to her screaming.  By the end of our drive I'm super frustrated and so is she.

I thought of this solution some time ago but only implemented it in time for our last drive this weekend.  Mr. Brown got a leash.

This picture shows attempt number 2.  Attempt one was much too short and involved Velcro, which isn't nearly strong enough.

I took a strip of fabric that matched the car seat and made a long tube.  Then I threaded elastic through the tube.  I made one loop at the end (without elastic) and then I made a second loop at the other end (with elastic).  Before I started I had carefully measured out the three parts I wanted, a loop to go around the seatbelt, the length between Catie and Mr. Brown and then a loop to go around Mr. Brown.  Sadly I didn't think about how much my fabric would shrink with the elastic, in the end I needed to make a second tube to attach the the first.  I had initially pictured the loop going around Mr. Brown's neck but I was a little worried about the chance of decapitation so in the end I made it go around his waist.

So here's how it works
The loop without elastic wraps around the seatbelt strap and the strip of fabric pulls through the loop.  Then the large, elastic loop goes around Mr. Brown's waist.  The strip isn't long enough for any sort of choking hazard, it just keeps Mr. brown from falling (it's actually slightly longer than I would like and may be shortened at some point).  

It worked just like I had hoped and made for a much more enjoyable trip.  I loved that I didn't ever have to reach back for him and Catie loved that he was always close.

Thursday, October 28, 2010

Clothing Re-fashions

My sister-in-law runs this awesome second hand store that is sadly so far away I've never even been inside.  When she comes to visit she often brings some really great pieces and the last time she came she brought a few cute things for Catie.

One of them was this pink sweater

And the second piece was this shirt

Both of them are really cute but I had plans to alter them.

The sweater had fake fur on the trim that made it look old and worn and I'm not thrilled with fake fur.  She'd only worn the sweater once because of the trim so I took my chances that the sweater would be finished underneath the trim and I unpicked it.  My gamble paid off and after the unpicking there wasn't anything else that needed to be done.

I think it looks much better and she'll wear it a lot more often now.


Next up the shirt, cute but I hated the turtle neck.  Also I figured I'd remove the sleeves so she could wear it longer without the sleeves getting too short.  I'll probably always layer a onesie underneath but I like that it will last a little longer now.


There aren't any after pictures because this shirt doesn't actually fit yet.

I had been putting off the alterations on the shirt for a while now because I was a little intimidated but Catie's lab coat took care of all of those worries, it gave me a new confidence when it comes to children's clothes.

Wednesday, October 27, 2010

A Giveaway Winner

So I probably should have mentioned in my Giveaway that this isn't a random type of giveaway, I always knew I was going to pick the project I wanted to work on most.

KD I want to re-cover your car seat, and Carla I'm thinking about and excited to work on your high chair.  You should send me a picture of it some time and I'll research fabric.

Perhaps when these projects are done I'll ask for some more.

What Catie and I Wore Wednesday #12

I thought I'd join Catie this week.

Wednesday

Striped T - Walmart
Jeans - Old Navy

Striped T - JC Penny
Dark Jeans - Addition Elle

You can see I finally got a much needed hair cut.

Thursday
Lots of Pictures today as the weather tricked me

Catie started the day like this

Jeans - Same Old Navy ones from yesterday
White long sleeve onesie - H&M
Striped T - Old Navy
Hoodie - Roots
Brown Shoes - Walmart

The weather was really nice today though, it got up to 20 degrees so I changed her into this thinking it would be one last time to wear them.
White Collared T - Children's Place
Embroidered Capris - Guess (you can see them better here)

 I wore
White Tank - Shade
White T - Gap
Long Sweater - Old navy
Brown Pants - Retimens

I shed the sweater pretty quickly though

I'm actually showing you my shoes today!  Mom and I went down to Cutbank last week to mail a package and we stopped at JC Penny where I found these awesome shoes for $14.  I love them!

Friday

White sleeve onesie - Carters
Green Long Sleeve T - Children's Place
Brown Embroidered Pants - Old Navy
Pink Socks - Gagou Tagou

As mentioned previously we just got rid of our tall Ikea dressers.  I'm thrilled they're gone but sadly they were the perfect height for taking self portraits.  I'd stack two books and snap a picture.  Now I have to go down to the living room to use the TV and I haven't quite found the perfect spot yet.


White tank - Shade
Blouse - JC Penny
Dark Jeans - Addition Elle
Brown Shoes - JC Penny
Beaded Watch - Dizzy Daisy

Saturday

White Long Sleeve Onesie - Carter's
Striped Shirt - Superstore
Jeans - Old Navy
Socks - Gagou Tagou

(I love those little teeth)

I didn't take a picture of me today because I wore the same thing as yesterday.  That's right, two days in a row.

Sunday
Dress - Not sure where it's from, it's on loan
Ruffle Socks - Made by Grandma West
Shoes - Zellers

I added the pink sweater because it was chilly out


Black Tank - Shade
Turqoise Dress - H&M
Black Tights - JC Penny
Shoes - Herbergerz  (Look at that, I showed you two pairs of shoes this week!  That's a record)

I added a sweater to combat the chilliness

Monday

Catie modeled her Halloween costume today
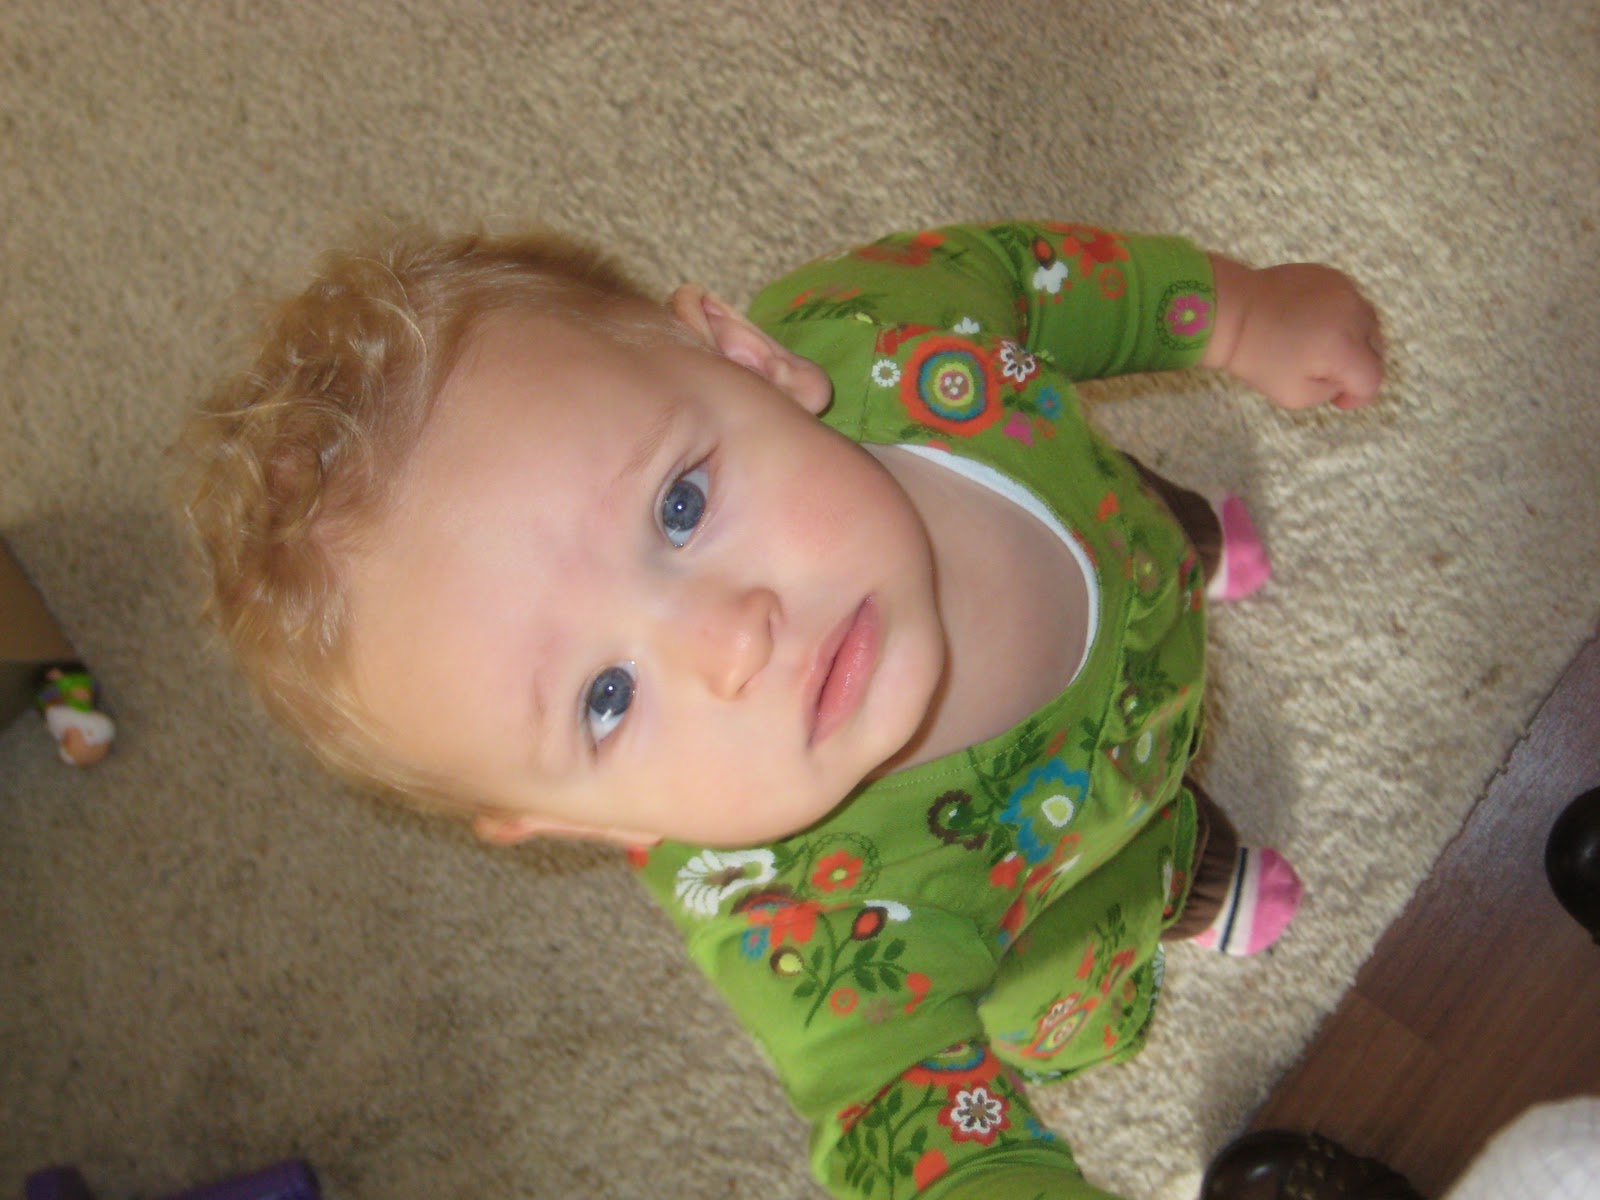
White lab coat - Made by Me
Striped Collared T - Old Navy
Jeans - Old Navy
Lace Socks - Made by Grandma West
Doctors Kit - Borrowed from Rihannan

White t- Old Navy
Brown Pants - Old Navy
Black Hoodie - Below the Belt?  It's Brad's.  I honestly only wore this for a couple hours, the rest of the time I stayed in my pajamas.

Tuesday

Long Sleeve Red T - Gap
Jeans - Old Navy
Gotta love that hair hey?


Black Tank - Shade
Black Sweater - Old Navy
Jeans - Addition Elle

The sweater has cute buttons on the sleeve that I like


As usual

Linking up to

the pleated poppy blog

Tuesday, October 26, 2010

The Doctor is In - Halloween Costume

I can do anything.  That's what I learned from this project.  It's also probably the best thing I've ever made.


I decided a while ago that Catie would be a doctor for Halloween, easy but cute.  I took one of Brad's old dress shirts and used that to make her costume.

I started with this dress of Catie's, it was basically the shape I wanted so I used that and made some pattern pieces our of flyers.


Then I cut my fabric out of Brad's shirt.  The smartest thing I did was to use the original buttons and button holes so I didn't have to re-create those at all.  Before I cut out the front pieces I unpicked the front pocket and saved it for later.


I apologize but it was at this point that I stopped taking pictures.  I was really confident that there was no way this was going to turn out.  You'll have to settle for me just explaining what I did.

Once my pieces were all cut out I started by sewing the yoke onto the back.  Once the yoke was on I sewed the shoulder seams together and at this point I was certain that I had cut the armholes too big.  I decided to press on anyway though.  I sewed the collar together leaving the bottom unsewed and turned it inside out so I had nice edges.  I topstitched around to give it a more finished look.  To attach the collar I pressed the unsewen edges inside a 1/4 inch and slipped the coat inside.  I topstitched to secure it all together.  At this point I sewed up the side seams of the coat.

I used one of her long sleeve onesies to cut out the sleeves and I hemmed them before I sewed up the sides.  Once the sides were sewed up I tried them on her and was sure they were going to end up too long but again I pressed on.

I took the sleeve and turned it it right side out, then I turned the coat inside out and inserted the sleeve.  I pinned it, sewed it and turned it the right way only to be completey shocked when it was beautiful.  I did the same thing on the other side sure that the first was a fluke but again it turned out to be so successful.

I took the pcket that I saved and trimmed it a little to make it smaller and re-sewed it on the lab coat.  I then hemmed the coat and added a second pocket down lower.

I tried the coat on her and realized that since I had used a dress it was pretty billowy and wide so I sewed up the side seams a litte to make it more straight and narrow.   So I was certain that the sleeves would be too long and uneven, the buttons wouldn't line up with the button holes, the arm holes would be too big making the sleeves not fit and it the hem would be uneven and too short yet somehow I managed to avoid all of those things and I even used a serger without any issues.  Like I said, I think it's the best thing I've ever made and I'm super proud of it.

The only thing I would have changed is that the collar is a little bit too wide.  If it was anything but a Halloween costume I would remove it and make it smaller but since it's just a costume I put two little x's in the corner of the collar to keep it in place.  I also handstitched her name onto the coat to make sure it's clear that she's a doctor.  (Also, she really doesn't have pierced ears, those are just little sticky dots my nephew had, I stuck them on last night and one of them made it through the night.)


Add a couple doctor items and it's finished.
Here's the coat layed out and then some much better pictures of her modeling.


I think she's the cutest little doctor I've ever seen.

One last story...
Last year Catie was a cat and she was adorable.  Catie has older cousins that she could borrow costumes from and I was adamant that I was never making her a costume and we would be borrowing every year... flash forward to this year and see just how much I've changed.  I was actually excited to make her a costume.  I'm already starting to think about next year.