Thursday, October 28, 2010

Clothing Re-fashions

My sister-in-law runs this awesome second hand store that is sadly so far away I've never even been inside.  When she comes to visit she often brings some really great pieces and the last time she came she brought a few cute things for Catie.

One of them was this pink sweater

And the second piece was this shirt

Both of them are really cute but I had plans to alter them.

The sweater had fake fur on the trim that made it look old and worn and I'm not thrilled with fake fur.  She'd only worn the sweater once because of the trim so I took my chances that the sweater would be finished underneath the trim and I unpicked it.  My gamble paid off and after the unpicking there wasn't anything else that needed to be done.

I think it looks much better and she'll wear it a lot more often now.


Next up the shirt, cute but I hated the turtle neck.  Also I figured I'd remove the sleeves so she could wear it longer without the sleeves getting too short.  I'll probably always layer a onesie underneath but I like that it will last a little longer now.


There aren't any after pictures because this shirt doesn't actually fit yet.

I had been putting off the alterations on the shirt for a while now because I was a little intimidated but Catie's lab coat took care of all of those worries, it gave me a new confidence when it comes to children's clothes.

Wednesday, October 27, 2010

A Giveaway Winner

So I probably should have mentioned in my Giveaway that this isn't a random type of giveaway, I always knew I was going to pick the project I wanted to work on most.

KD I want to re-cover your car seat, and Carla I'm thinking about and excited to work on your high chair.  You should send me a picture of it some time and I'll research fabric.

Perhaps when these projects are done I'll ask for some more.

What Catie and I Wore Wednesday #12

I thought I'd join Catie this week.

Wednesday

Striped T - Walmart
Jeans - Old Navy

Striped T - JC Penny
Dark Jeans - Addition Elle

You can see I finally got a much needed hair cut.

Thursday
Lots of Pictures today as the weather tricked me

Catie started the day like this

Jeans - Same Old Navy ones from yesterday
White long sleeve onesie - H&M
Striped T - Old Navy
Hoodie - Roots
Brown Shoes - Walmart

The weather was really nice today though, it got up to 20 degrees so I changed her into this thinking it would be one last time to wear them.
White Collared T - Children's Place
Embroidered Capris - Guess (you can see them better here)

 I wore
White Tank - Shade
White T - Gap
Long Sweater - Old navy
Brown Pants - Retimens

I shed the sweater pretty quickly though

I'm actually showing you my shoes today!  Mom and I went down to Cutbank last week to mail a package and we stopped at JC Penny where I found these awesome shoes for $14.  I love them!

Friday

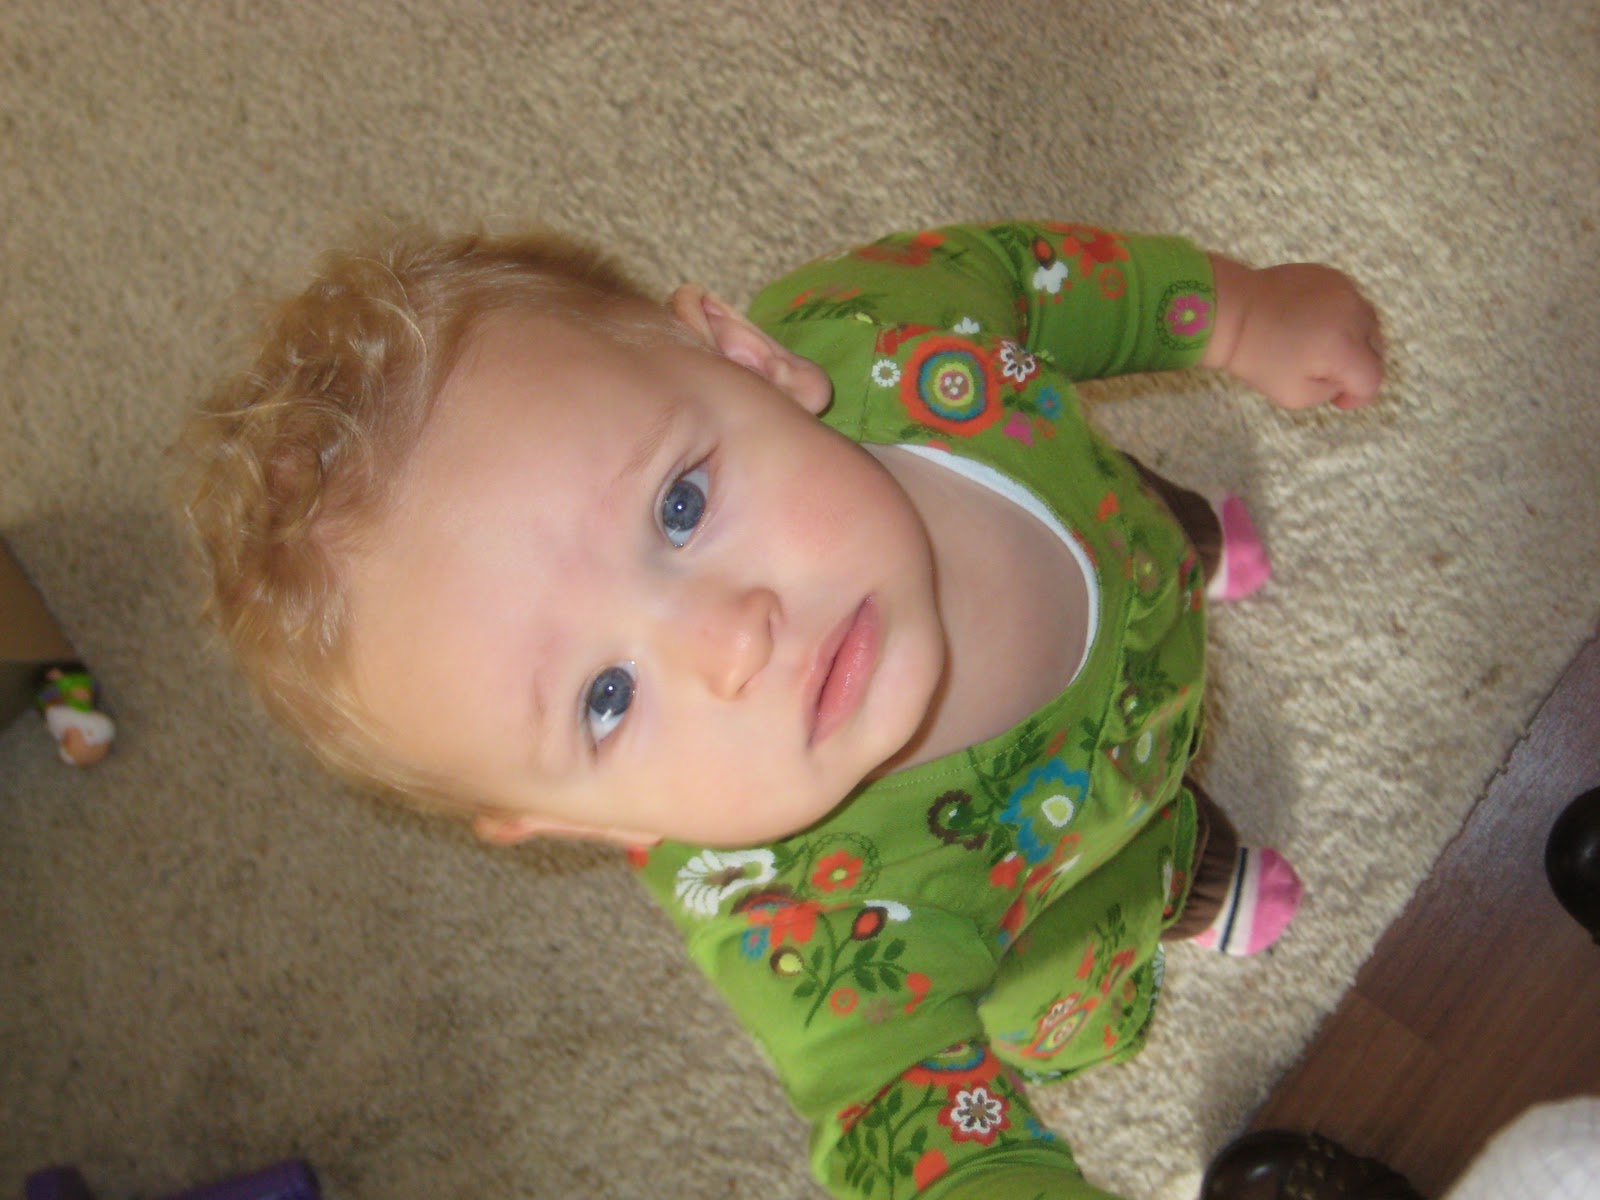
White sleeve onesie - Carters
Green Long Sleeve T - Children's Place
Brown Embroidered Pants - Old Navy
Pink Socks - Gagou Tagou

As mentioned previously we just got rid of our tall Ikea dressers.  I'm thrilled they're gone but sadly they were the perfect height for taking self portraits.  I'd stack two books and snap a picture.  Now I have to go down to the living room to use the TV and I haven't quite found the perfect spot yet.


White tank - Shade
Blouse - JC Penny
Dark Jeans - Addition Elle
Brown Shoes - JC Penny
Beaded Watch - Dizzy Daisy

Saturday

White Long Sleeve Onesie - Carter's
Striped Shirt - Superstore
Jeans - Old Navy
Socks - Gagou Tagou

(I love those little teeth)

I didn't take a picture of me today because I wore the same thing as yesterday.  That's right, two days in a row.

Sunday
Dress - Not sure where it's from, it's on loan
Ruffle Socks - Made by Grandma West
Shoes - Zellers

I added the pink sweater because it was chilly out


Black Tank - Shade
Turqoise Dress - H&M
Black Tights - JC Penny
Shoes - Herbergerz  (Look at that, I showed you two pairs of shoes this week!  That's a record)

I added a sweater to combat the chilliness

Monday

Catie modeled her Halloween costume today

White lab coat - Made by Me
Striped Collared T - Old Navy
Jeans - Old Navy
Lace Socks - Made by Grandma West
Doctors Kit - Borrowed from Rihannan

White t- Old Navy
Brown Pants - Old Navy
Black Hoodie - Below the Belt?  It's Brad's.  I honestly only wore this for a couple hours, the rest of the time I stayed in my pajamas.

Tuesday

Long Sleeve Red T - Gap
Jeans - Old Navy
Gotta love that hair hey?


Black Tank - Shade
Black Sweater - Old Navy
Jeans - Addition Elle

The sweater has cute buttons on the sleeve that I like


As usual

Linking up to

the pleated poppy blog

Tuesday, October 26, 2010

The Doctor is In - Halloween Costume

I can do anything.  That's what I learned from this project.  It's also probably the best thing I've ever made.


I decided a while ago that Catie would be a doctor for Halloween, easy but cute.  I took one of Brad's old dress shirts and used that to make her costume.

I started with this dress of Catie's, it was basically the shape I wanted so I used that and made some pattern pieces our of flyers.


Then I cut my fabric out of Brad's shirt.  The smartest thing I did was to use the original buttons and button holes so I didn't have to re-create those at all.  Before I cut out the front pieces I unpicked the front pocket and saved it for later.


I apologize but it was at this point that I stopped taking pictures.  I was really confident that there was no way this was going to turn out.  You'll have to settle for me just explaining what I did.

Once my pieces were all cut out I started by sewing the yoke onto the back.  Once the yoke was on I sewed the shoulder seams together and at this point I was certain that I had cut the armholes too big.  I decided to press on anyway though.  I sewed the collar together leaving the bottom unsewed and turned it inside out so I had nice edges.  I topstitched around to give it a more finished look.  To attach the collar I pressed the unsewen edges inside a 1/4 inch and slipped the coat inside.  I topstitched to secure it all together.  At this point I sewed up the side seams of the coat.

I used one of her long sleeve onesies to cut out the sleeves and I hemmed them before I sewed up the sides.  Once the sides were sewed up I tried them on her and was sure they were going to end up too long but again I pressed on.

I took the sleeve and turned it it right side out, then I turned the coat inside out and inserted the sleeve.  I pinned it, sewed it and turned it the right way only to be completey shocked when it was beautiful.  I did the same thing on the other side sure that the first was a fluke but again it turned out to be so successful.

I took the pcket that I saved and trimmed it a little to make it smaller and re-sewed it on the lab coat.  I then hemmed the coat and added a second pocket down lower.

I tried the coat on her and realized that since I had used a dress it was pretty billowy and wide so I sewed up the side seams a litte to make it more straight and narrow.   So I was certain that the sleeves would be too long and uneven, the buttons wouldn't line up with the button holes, the arm holes would be too big making the sleeves not fit and it the hem would be uneven and too short yet somehow I managed to avoid all of those things and I even used a serger without any issues.  Like I said, I think it's the best thing I've ever made and I'm super proud of it.

The only thing I would have changed is that the collar is a little bit too wide.  If it was anything but a Halloween costume I would remove it and make it smaller but since it's just a costume I put two little x's in the corner of the collar to keep it in place.  I also handstitched her name onto the coat to make sure it's clear that she's a doctor.  (Also, she really doesn't have pierced ears, those are just little sticky dots my nephew had, I stuck them on last night and one of them made it through the night.)


Add a couple doctor items and it's finished.
Here's the coat layed out and then some much better pictures of her modeling.


I think she's the cutest little doctor I've ever seen.

One last story...
Last year Catie was a cat and she was adorable.  Catie has older cousins that she could borrow costumes from and I was adamant that I was never making her a costume and we would be borrowing every year... flash forward to this year and see just how much I've changed.  I was actually excited to make her a costume.  I'm already starting to think about next year.

Monday, October 25, 2010

A Giveaway (of sorts)

So I seem to have run out of projects.  I don't have anything to work on right now and nothing new I want to start unless it involves paint and it's too cold outside for paint.

Here's where the giveaway comes in but let me explain why it's only sort of a giveaway.  Unless you're willing to pay shipping costs or deliver this is for locals only.  I will be in Calgary this weekend so Calgary friends feel free to participate.

I'm looking for a new project, something to re-cover.  It could be a saucer chair, a bouncy chair, a stroller, a high chair, really just about anything will do.  You can check out my Re-Covered page to see the projects I've already done but I'm not afraid to try something new.  The only draw back is that you'll need to cover all expenses.  So you provide me with an item to cover and the fabric (I'd even love to shop with you) and I'll do the work for free.

To enter just comment with whatever project you want me to tackle.  I'll run the giveaway for a couple days or until there are a couple projects to pick from and then I'll announce the winner. 

Hopefully at least one or two of you are actually interested in this and my plea doesn't go unanswered.

Parmesan Pesto Pizza - SAMM

Time for another round of SAMM (Share a Meal Monday).  You should go link up to Michelle's blog, it's fun and you might find a recipe or two you like.


This week we made one of our favorite meals and probably the best dish I've ever created on my own.


Doesn't it look yummy?  I was too excited to eat it so I forgot to take a picture before I cut it... oops.


Here's what you do.


Make up your favorite pizza dough recipe.  I'll give you mine at the end of the post even though I don't think it's that great.  It turns out pretty good but it's not very good leftover, it gets kind of tough.  I'm sure there's a better one out there and if you have one you should give it to me.


One your dough has risen and is ready to go roll it out to fit your pan.  I use a pizza stone and you should too, they make such a good crust.  There was a time when Brad and I discovered BBQ pizza and we thought it was the best thing ever.  Then one day we were out of propane so we decided to use the stone we got as a wedding gift, turns out the stone was much better and way less work.  They're really cheap so you should get one.


So roll out your dough and then spread on top some pesto.  You could make your own and I'm sure it would tase even better but that adds a lot of cost and time and dishes and the point of pizza is easy and yummy so I use a prepared pesto.


This one to be exact.


Once your pesto is spread, top with some tomatoes.  I use vine ripened because I think they're yummier than hot house and I think they look prettier when they're sliced and layed on top but they're a lot easier to eat and you don't need as many if you dice them.  Top your tomatoes with a generous amount of crumbled feta.  I don't crumble it very finely because I think the big chunks.


The next and last ingredient is the most important, the Parmesan cheese.  If you use that horrible bottle of kraft powdered cheese you will completely ruin this pizza, you may as well just not bother making it.  And that pre-shredded stuff isn't much better, it really is worth it to spend the extra money on good, Parmigiano-Reggiano cheese.  It makes a huge difference and you will not regret it, despite the price tag (usually you find it in the deli section with the specialty cheeses).  There aren't many ingredients on this pizza so it's important that they're all really good ones.


Once your pizza is dressed it looks like this (You should try to spread your ingredients further to the edge than I did on this pizza.  You can see there's a ring of pesto with nothing on it near the crust and I was disappointed while I was eating that there wasn't any good stuff there).


Now technically when you use a pizza stone you're supposed to pre-heat the stone.  I've done it once and didn't notice any difference except that it's a pain to deal with a hot stone so I don't bother.  I put the pizza in a hot oven, 375 ish and bake until it looks good, maybe 15 minutes to 30 minutes?  Sorry, I don't ever time it, you want the crust to look slightly brown and the feta should look yummy and browned in places too.


This is an easy meal that we love, maybe it will become one of your favorites too!


Pizza Dough

1 1/4 cups water 
3 cups bread flour (I always use all purpose)
2 tsp active dry yeast 
1 1/2 tbsp white sugar 
1 tsp salt 
1 tsp powdered milk (I used milk once and I didn’t like the texture difference)


Place ingredients in the pan of the bread machine, in the order suggested by the manufacturer. Select Dough cycle. After cycle is completed, roll out dough on a lightly floured surface. 


My bread machine died so instead I put all the ingredients in my Kitchen Aid and knead using the dough hook until it looks done.  Then I spray my bowl with olive oil and cover with saran for a couple of hours.  Or sometimes I pop it in the fridge and let it rise overnight.


Friday, October 22, 2010

How I Plan To Spend My Summer

Kijiji has been good to me this week.

Now none of these pieces look very beautiful yet but I have plans, you'll have to envision with me.  Normally I don't like to post before pictures until the after is ready but since the after will be some time coming I thought I'd share my excitement.  Sadly I live in a region where we get some serious winters with lots of snow and lots of cold and no time suitable for spray painting.  Also I think I've decided to get a paint sprayer and it's not in the budget until summer so I'll have to use these pieces as is until then.   Anyone have any paint sprayer tips?


So it all started with my brother, he knows some people who are moving and they're getting new furniture.  They were getting rid of a bunch of stuff so he picked up a table and 6 chairs for FREE!  My parents badly need the chairs but they didn't need to table.  We happen to really need one as ours is tiny.  It comfortably seats 4 but don't try to put the food on the table if you're eating off dishes, there isn't room for sure.  My brother generously handed over the table so I'm now the proud owner of this.

Don't mind the dressers in the background, they're not normally in the kitchen, really.

(here's where you use your imagination)
After - picture the table top and the skirt stained a really dark brown.  I want it almost black and really rich looking. The pedestal will be painted slightly off white and glazed so it looks chippy and worn.


Our table was in really good condition but the chair are degrading, quickly.  They've all been glued and screwed together multiple times so the hunt for chairs starts.  I want 6 chairs and I want them to all be different but simiilar in style.  I happened across these two gems the first time I looked.


They're old and may not last forever but I love all the details on them and I thought $30 for the two was reasonable.  The gentleman I bought them from was a little horrified that I plan to paint them.

After - I think I'll paint these to match the pedestal.  Slightly off white and glazed to really bring out all the details.


Next I was talking to Michelle one day who was idly looking at Kijiji and found exactly the type of dresser I've been looking for for $20!  We currently have two, tall MALM style dressers from Ikea and I hate them.  I hate how tall they are, I hate that they're not real wood and I hate that they don't match anything else in the bedroom.  I've been looking for something old I could update but everything I'd seen was much too expensive.  This dresser was perfect.  I was sure it would be gone by the time we got there or it wouldn't actually be that cheap but surprise, surprise I'm now the proud owner of this new to me dresser.  Picking it up was an adventure... Michelle and Porter in her van, Me, Catie and Rigby in my car following behind.  As we loaded all three screamed in their car seats.  Thanks for the van Michelle and I'm glad our babies survived.


After - I don't actually know what I want to do with this yet but I do know that the center drawers will look so great glazed.  I could paint it to match my headboard and bedside tables but I think that's too matchy matchy.  I'm thinking I'll paint it a colour so it becomes a feature.  I'm also considering staining the top of the dresser.  What do you think I should do with it?  Our room has brown and purple in it.

Thursday, October 21, 2010

Better After Feature

Yay! I'm so excited that my stroller re-cover was featured on Better After!  This is one of my favorite sites and I get a lot of really great ideas here.  If you've never read Better After you should get over there right now.

No Apologies

Just about every blog I read does the same thing, they post a photo of a project and apologize about the quality of their photography.  Every time I think, "I didn't really think the photo was that bad".  I've started to wish that people would stop apologizing about the quality of their pictures because I just don't care.  I want to see what they made, they're not a photographer and I understand that, I just want to see the awesome thing they created.  It's really that handful of amazing photographers that make us all wish we were better but we get better by experience.

Despite these thoughts I find I do exactly the same thing.  I have a very simple point and shoot camera and I'm a crummy photographer but hopefully you don't care.  I hope that you can interpret what the picture shows and see past the bad photography.

From here on out you'll get no more apologies out of me and I urge you to do the same.

Wednesday, October 20, 2010

What Catie Wore Wednesday #11

I think getting a good photo is getting more and more difficult, I suppose that happens when you first learn to run.

Thursday

Headband - Made by me
Grey Sweater - H&M (I know this picture doesn't show the sweater very well but she'll wear it again
Long Sleeve Onesie - Carters
Skinny Leg Jeans - Children's Place
Shoes - Zellers

Friday

Long Sleeve Onesie - Carters (you'll see a lot of these)
T shirt - Superstore?  I can't remember.  The strawberry is sequins and it says Naturally Sweet underneath
Jeans - Old navy

(you should check out my office chair makeover)

Saturday

Long Sleeve White Onesie - Carters
Pajama Pants - Walmart


I drove down to Cutbank today to mail off my giveaway and when I left Catie was in pajamas.  She was in the same pajamas when I got home many hours later.  That's how the day goes when Daddy's in charge.  This picture was taken by Daddy, seems like things go a little differently when Mommy is gone :)

Sunday


Headband - Made by Me
White Long Sleeve Onesie - Carters
Dress - I'm not sure where it's from, it's on loan
White Jelly Shoes - Anabanana

The above picture obviously shows the outfit the best but how could I leave this one out?


Monday
White Long Sleeve Onesie - Carters
Yellow Sweater - Old Navy
Embroidered Jeans - Esprit

She's discovered that she loves to carry around my purse

Tuesday

Navy Shirt - Old Navy
Jeans - Old Navy


Linking up to

the pleated poppy blog