This is a recipe that never fails to be completely delicious. We made it this last week and had forgotten just how much we love it.
Coconut Curry Chicken
2 chicken breasts, chopped
1 heaping tbsp of Matsaman curry paste (red curry paste)
3 tbsp olive oil
1 small onion, chopped
1 clove of garlic
3 Carrots, peeled, quartered and chopped in 1 inch pieces
1 Green Pepper, chopped
1 can Coconut Milk
1/2 can pineapple chunks
Cashews
Add curry paste and olive oil to saucepan, cook over medium heat until slightly browned. Add chicken and toss to coat. Sauté over medium heat for 2 minutes (not too long or by the time your carrots are cooked your chicken is over cooked). Add onion, garlic and carrots. Cook until onion is translucent.
Pour Coconut Milk over mixture, cover and simmer until carrots are cooked and mixture is slightly thickened. Add Green Pepper, pineapple and Cashews and cook 15 minutes longer.
Serve with Basmati Rice or if you want it to be even better serve it with coconut rice.
Coconut Rice
2 cups basmati rice, washed and rinsed
1 - 14 oz can (398 ml) coconut milk
2 1/4 cups water
1 tsp salt
1 tsp sugar
1 cinnamon stick
In a large saucepan with a tight-fitting lid, mix rice with remaining ingredients. Bring to a boil and reduce heat to low. Cook, covered for 25 minutes, or until liquid is absorbed. Remove cinnamon stick. Serves 8

Monday, December 6, 2010


Friday, December 3, 2010
Art Smock
I recently finished two projects that I'm really proud of, they both turned out so well and they go together so I thought I'd post one yesterday and one today but then yesterday I was more sick than I've been in a really long time so yesterday's post is now today's post and today's post will have to be Tuesday's post since Monday is SAMM. (wow, run on sentence for sure)
I'm also taking a risk with these two projects. Last year I didn't make very many Christmas gifts but this year I'm trying to make more than I buy, the down side to that being while I want to blog so you can share in the fun idea it's possible the recipient is a blog reader. I don't believe she reads my blog, at least not regularly so I'm going to take a chance and post them here but hopefully I'm not ruining the surprise and if you suspect these two gifts are coming your way let me know before you see the awesome second part so you at least have a small surprise.
The first part of this gift is this cute art smock. A great way to keep a little girl clean from glitter, glue and any other art project supply she uses.

Obviously this smock is a little large for Catie but it's going to an older girl so it should fit just right. I used Make it and Love It's tutorial and it turned out really well. The only change I made was to make my own bias tape and instead of using ribbon I used fabric that I sewed into a tube.

Here's a better picture of the front and back


Make sure you come back on Tuesday to see the better part of this gift.
I'm also taking a risk with these two projects. Last year I didn't make very many Christmas gifts but this year I'm trying to make more than I buy, the down side to that being while I want to blog so you can share in the fun idea it's possible the recipient is a blog reader. I don't believe she reads my blog, at least not regularly so I'm going to take a chance and post them here but hopefully I'm not ruining the surprise and if you suspect these two gifts are coming your way let me know before you see the awesome second part so you at least have a small surprise.
The first part of this gift is this cute art smock. A great way to keep a little girl clean from glitter, glue and any other art project supply she uses.

Obviously this smock is a little large for Catie but it's going to an older girl so it should fit just right. I used Make it and Love It's tutorial and it turned out really well. The only change I made was to make my own bias tape and instead of using ribbon I used fabric that I sewed into a tube.

Here's a better picture of the front and back


Make sure you come back on Tuesday to see the better part of this gift.
Wednesday, December 1, 2010
Advent Calendar - Week #4 (Final)
December 1st and my Advent Calendar is finished! When I started this sew along with Jill I didn't realize just what I was getting myself into, every singe stitch on this calendar is sewn by hand making everything take significantly longer than I had anticipated. Every time I pulled out a different project my calendar loomed over me. I'm glad to say that it's finished, I love it and I'm now free to work on other projects.
As a quick recap, week 1 we cut out and embroidered all of our numbers and sewed them onto the backing piece. Week two we cut and sewed the tree on and made 8 ornaments. Week three we made 8 more ornaments and then sewed all of our buttons onto the tree. This last week we finished the calendar which involved finishing up the last 8 ornaments, sewing a backing piece on the calendar to hide all those stitches and adding a hanger. You're supposed to slip a wooden dowel into the holder on top but I haven't bothered to pick one up so it may be finished but there's now way to hang it. Oops.
Here it is with the ornaments hung.

And with them all tucked in their pockets.

Here's a close up of the ornaments.


And one more close up of the finished calendar.

Jill has a Flickr group where people can link up their Calendars so if you want to see more you can go here.
As a quick recap, week 1 we cut out and embroidered all of our numbers and sewed them onto the backing piece. Week two we cut and sewed the tree on and made 8 ornaments. Week three we made 8 more ornaments and then sewed all of our buttons onto the tree. This last week we finished the calendar which involved finishing up the last 8 ornaments, sewing a backing piece on the calendar to hide all those stitches and adding a hanger. You're supposed to slip a wooden dowel into the holder on top but I haven't bothered to pick one up so it may be finished but there's now way to hang it. Oops.
Here it is with the ornaments hung.

And with them all tucked in their pockets.

Here's a close up of the ornaments.


And one more close up of the finished calendar.

Jill has a Flickr group where people can link up their Calendars so if you want to see more you can go here.
Tuesday, November 30, 2010
Pins & Needles Giveaway Winner
Time to pick a winner for my Giveaway.
Like usual I used Random.org to find a number and it was
 The 12th comment just happened to be from my sister Jenn! I'm so happy you won Jenn, I may just send this down with Mom when she comes for Christmas, we'll see if I make it to the post office before then.
I think this will be my last giveaway for a while, my project list has grown to unmanageable levels so I need to get some work done. Perhaps I'll have another giveaway after Christmas.
Like usual I used Random.org to find a number and it was

I think this will be my last giveaway for a while, my project list has grown to unmanageable levels so I need to get some work done. Perhaps I'll have another giveaway after Christmas.
Monday, November 29, 2010
Cajun Chicken Pasta - SAMM
I know I'm supposed to announce my giveaway winner today but I've been recovering from our very full weekend so that will have to wait until tomorrow. I didn't participate in SAMM last week though so I wanted to make sure I linked up a recipe.
Brad made this meal for me on our first Valentine's Day together and it was so delicious it's stuck around. We've made it for family and after tasting it they've all added it to their favorite meals as well. It's also one of those recipes that I read and I'm uninspired thinking it's going to be an average meal but it surprised every time that it's so delicious, I always think it's something you would eat at the Olive Garden. It's yummy with some good bread too.
Cajun Chicken Pasta
4 oz linguine pasta (I use spaghettini)
2 skinless, boneless chicken breast halves
2 tsp Cajun seasoning
2 tbsp butter
1 red bell pepper, sliced
1 green bell pepper, sliced
4 fresh mushrooms, sliced (I always skip them because I hate mushrooms)
1 green onion, chopped (I usually skip these too because I don't have them and I don't notice a difference)
1 cup heavy cream
1/4 tsp dried basil
1/4 tsp lemon pepper
1/4 tsp salt
2 cloves garlic
1/8 tsp ground black pepper
1/4 cup grated Parmesan cheese (the good stuff, not that horrible Kraft stuff)
Bring a large pot of lightly salted water to a boil. Add pasta and cook for 8 to 10 minutes or until al dente; drain. Place the chicken and the Cajun seasoning in a plastic bag and shake to coat (I never do the bag thing, I season one side and then place my chicken in the pan season side down, and season the other side. Just be generous with the Cajun seasoning and it'll be yummy). In a large skillet over medium heat, sauté
the chicken in butter or margarine until almost tender (5 to 7 minutes). Add the red bell pepper, green bell pepper, mushrooms and green onion. Sauté and stir for 2 to 3 minutes. Reduce heat.
Add the cream, basil, lemon pepper, salt, garlic powder (put real garlic in with the green peppers and skip the powder) and ground black pepper. Heat through. Add the cooked linguine, toss and heat through. Sprinkle with grated Parmesan cheese and serve.

Linking to Share a Meal Monday
Brad made this meal for me on our first Valentine's Day together and it was so delicious it's stuck around. We've made it for family and after tasting it they've all added it to their favorite meals as well. It's also one of those recipes that I read and I'm uninspired thinking it's going to be an average meal but it surprised every time that it's so delicious, I always think it's something you would eat at the Olive Garden. It's yummy with some good bread too.
Cajun Chicken Pasta
4 oz linguine pasta (I use spaghettini)
2 skinless, boneless chicken breast halves
2 tsp Cajun seasoning
2 tbsp butter
1 red bell pepper, sliced
1 green bell pepper, sliced
4 fresh mushrooms, sliced (I always skip them because I hate mushrooms)
1 green onion, chopped (I usually skip these too because I don't have them and I don't notice a difference)
1 cup heavy cream
1/4 tsp dried basil
1/4 tsp lemon pepper
1/4 tsp salt
2 cloves garlic
1/8 tsp ground black pepper
1/4 cup grated Parmesan cheese (the good stuff, not that horrible Kraft stuff)
Bring a large pot of lightly salted water to a boil. Add pasta and cook for 8 to 10 minutes or until al dente; drain. Place the chicken and the Cajun seasoning in a plastic bag and shake to coat (I never do the bag thing, I season one side and then place my chicken in the pan season side down, and season the other side. Just be generous with the Cajun seasoning and it'll be yummy). In a large skillet over medium heat, sauté
the chicken in butter or margarine until almost tender (5 to 7 minutes). Add the red bell pepper, green bell pepper, mushrooms and green onion. Sauté and stir for 2 to 3 minutes. Reduce heat.
Add the cream, basil, lemon pepper, salt, garlic powder (put real garlic in with the green peppers and skip the powder) and ground black pepper. Heat through. Add the cooked linguine, toss and heat through. Sprinkle with grated Parmesan cheese and serve.

Linking to Share a Meal Monday
Wednesday, November 24, 2010
Advent Calendar - Week #3
Time for my Advent Calendar update. If you're new to the blog then I'm doing a sew along with Jill and we're all making this super cute advent calendar by Inchmark Journal. Each week Jill gives us a new assignment and so far we're on week 3. The first week we cut out and embroidered all of our numbers and sewed them onto the backing piece. Week two we cut and sewed the tree on and made 8 ornaments. At least we were supposed to, I thought the assignment was only 5 so at the last minute I managed to come up with two more but was still one behind this week. Our week three assignment was to sew on our buttons and make 8 more ornaments, or in my case 9.
Here's mine looks like after week three.

See all those loops sticking out of the pockets? those are finished ornaments, 17 of them to be exact. So not only did I catch up my one last week but I made an extra one this week.
Here are the two I made to catch up last week but didn't post about. They were both easy just to get me almost caught up.

And here are my 10 new ornaments.


An up close of the partially decorated tree.

Come back next week to see my progress.
Here's mine looks like after week three.

See all those loops sticking out of the pockets? those are finished ornaments, 17 of them to be exact. So not only did I catch up my one last week but I made an extra one this week.
Here are the two I made to catch up last week but didn't post about. They were both easy just to get me almost caught up.

And here are my 10 new ornaments.


I think Santa's my favorite.

Come back next week to see my progress.
Tuesday, November 23, 2010
Spirit of Christmas Popcorn - SAMM
Brad and I have a thing for popcorn, you might call it an addiction really. We love it and eat it almost nightly. We use a Stir Crazy oil popper and butter/salt flavouring to get popcorn that is just about better than theater popcorn. We don't usually make any sort of candy popcorn because we love buttered so much but for this recipe I made an exception. It's gingerbread flavoured popcorn which sounds odd but is just so yummy. It was the perfect thing to bake today while it's super cold outside. The popcorn bakes so it's crispy and sweet and delicious. It's easy so you should make some too, it would make a great gift for neighbors or friends.
Spirit of Christmas Popcorn
16 cups popped popcorn
2 cups packed golden brown sugar
1 cup butter
1/2 cup fancy molasses (I used cooking molasses because it's what I had, it was delicious)
1/2 cup white corn syrup
1 tbsp ground ginger
1 tsp cinnamon
1/2 tsp salt
1/2 tsp baking soda
Line a large roasting pan with non stick foil. Place popcorn in prepared pan. Combine next 7 ingredients (brown sugar through salt) in a heavy Dutch oven. Bring to boil over medium heat, stirring frequently. Boil, without stirring, for 5 minutes. Remove pan from heat and immediately stir in baking soda. Mixture will foam vigorously. Immediately pour foaming mixture over popcorn and stir to combine. Bake at 205"F, stirring every 20 minutes, for 1 hour or until popcorn is glazed and crisp. Cool in pan on a rack. Store in an air tright container in a cool dry place for up to 1 week or freeze for up to 6 weeks.
Note: 1/2 cup unpopped popcorn = 10 cups popped popcorn
I realize this isn't a Meal, nor is it Monday but I'm going to link this to Share a Meal Monday anyway.
Spirit of Christmas Popcorn
16 cups popped popcorn
2 cups packed golden brown sugar
1 cup butter
1/2 cup fancy molasses (I used cooking molasses because it's what I had, it was delicious)
1/2 cup white corn syrup
1 tbsp ground ginger
1 tsp cinnamon
1/2 tsp salt
1/2 tsp baking soda
Line a large roasting pan with non stick foil. Place popcorn in prepared pan. Combine next 7 ingredients (brown sugar through salt) in a heavy Dutch oven. Bring to boil over medium heat, stirring frequently. Boil, without stirring, for 5 minutes. Remove pan from heat and immediately stir in baking soda. Mixture will foam vigorously. Immediately pour foaming mixture over popcorn and stir to combine. Bake at 205"F, stirring every 20 minutes, for 1 hour or until popcorn is glazed and crisp. Cool in pan on a rack. Store in an air tright container in a cool dry place for up to 1 week or freeze for up to 6 weeks.
Note: 1/2 cup unpopped popcorn = 10 cups popped popcorn
I realize this isn't a Meal, nor is it Monday but I'm going to link this to Share a Meal Monday anyway.
Monday, November 22, 2010
Pins and Needles Giveaway
Like I mentioned earlier I love giveaways. It's so much fun to make something and have other people want it. I enjoyed the last one so much that I have another.

There are two parts to this giveaway and they are two of my favorite sewing items, and with both I didn't know just how much I'd like them.
First there is Ned. He's such a cute little pin cushion and a great way to show off the pink pins that my husband Brad gave me for Mother's Day. I made him for myself back in May and every time I use him it makes me smile a little. I made a new one for the giveaway and I've made a couple improvements to the design, he's now a Weeble. He wobbles but doesn't fall down, he always lands on his belly so your pins stay upright and handy. I found a free printable pattern for him here that you can check out if you just want to make your own (he's super easy to make). Sadly this Ned will not come with the pretty pink quills, you'll have to pick those up yourself but you can get them at Michaels.

The second part of this giveaway is a needle book. I found the tutorial on Little Birdie Secrets. This project was initially just something to keep me busy one night, I didn't know just how useful it is. There are lots of projects that need some needle work, whether it's closing up a final seam on Ned or hand stitching my advent calendar. It's so convenient to never have to hunt for a needle, you just grab your book and your set. I went through a phase where I made necklaces and sometimes the beads would require a smaller needle, I didn't have to search I could just open the book and find a smaller one.
When my Mom saw my book she wanted one too so I made her one and she's commented as well on just how handy they are.
The book is made of felt and the closed with a vintage button (from my Grandma's stash)

Inside the book there are four felt pages for you to slip your needles inside. The book won't include the needles, you'll need to provide your own.


So there you have it, a fun, two part giveaway.

All you need to do to enter is become a follower and comment letting me know. If you already follow then leave a comment telling me your interested in the giveaway.
You can also have a second entry if you blog or Facebook about the giveaway. Make sure you leave a second comment to tell me.
That's it, good luck! I'll pick a winner in a week.

There are two parts to this giveaway and they are two of my favorite sewing items, and with both I didn't know just how much I'd like them.
First there is Ned. He's such a cute little pin cushion and a great way to show off the pink pins that my husband Brad gave me for Mother's Day. I made him for myself back in May and every time I use him it makes me smile a little. I made a new one for the giveaway and I've made a couple improvements to the design, he's now a Weeble. He wobbles but doesn't fall down, he always lands on his belly so your pins stay upright and handy. I found a free printable pattern for him here that you can check out if you just want to make your own (he's super easy to make). Sadly this Ned will not come with the pretty pink quills, you'll have to pick those up yourself but you can get them at Michaels.

The second part of this giveaway is a needle book. I found the tutorial on Little Birdie Secrets. This project was initially just something to keep me busy one night, I didn't know just how useful it is. There are lots of projects that need some needle work, whether it's closing up a final seam on Ned or hand stitching my advent calendar. It's so convenient to never have to hunt for a needle, you just grab your book and your set. I went through a phase where I made necklaces and sometimes the beads would require a smaller needle, I didn't have to search I could just open the book and find a smaller one.
When my Mom saw my book she wanted one too so I made her one and she's commented as well on just how handy they are.
The book is made of felt and the closed with a vintage button (from my Grandma's stash)

Inside the book there are four felt pages for you to slip your needles inside. The book won't include the needles, you'll need to provide your own.


So there you have it, a fun, two part giveaway.

All you need to do to enter is become a follower and comment letting me know. If you already follow then leave a comment telling me your interested in the giveaway.
You can also have a second entry if you blog or Facebook about the giveaway. Make sure you leave a second comment to tell me.
That's it, good luck! I'll pick a winner in a week.
Passport Cover Giveaway Winners!
This is now my second real giveaway (the call for projects doesn't really count). I've discovered that I love giveaways, I love them so much that if you come back later today you just might find another one. It's a fun one that would be great to add to your sewing room or as a stocking stuffer for someone else, but we'll save that for another post.
This post is all about picking the two winners of the Passport cover, and I couldn't be happier about the random numbers that were chosen for me, both winners sound like they'll use the cover a lot.
The first winner is Cara
She said, "I would LOVE to win this! I've been looking for something exactly like this, with no success (until now)! I'm leaving to go to China in a few months to adopt my daughter and this passport cover would come in oh so handy! Love your blog!!!"
Congrats on your new daughter Cara, glad I could help make the trip stylish.
Second we have the Goss Family. When she commented I really wanted her to win and I'm so excited that she did. She said, "Living overseas due to the military, we are required to carry our passports with us just in case we are ever stopped. This would be a much cuter way to carry it then what I've been using =)"
I'm so thrilled to have such deserving winners.
Ladies, contact me and let me know where I can ship your covers and I'll do my best to get them in the mail, lets be honest the overseas one is going to slowest route possible... sorry but shipping can be pricey. You can email me at westlaur@gmail.com
So that's it for now but like I mentioned, come back later to see what's coming.
This post is all about picking the two winners of the Passport cover, and I couldn't be happier about the random numbers that were chosen for me, both winners sound like they'll use the cover a lot.
The first winner is Cara
She said, "I would LOVE to win this! I've been looking for something exactly like this, with no success (until now)! I'm leaving to go to China in a few months to adopt my daughter and this passport cover would come in oh so handy! Love your blog!!!"
Congrats on your new daughter Cara, glad I could help make the trip stylish.
Second we have the Goss Family. When she commented I really wanted her to win and I'm so excited that she did. She said, "Living overseas due to the military, we are required to carry our passports with us just in case we are ever stopped. This would be a much cuter way to carry it then what I've been using =)"
I'm so thrilled to have such deserving winners.
Ladies, contact me and let me know where I can ship your covers and I'll do my best to get them in the mail, lets be honest the overseas one is going to slowest route possible... sorry but shipping can be pricey. You can email me at westlaur@gmail.com
So that's it for now but like I mentioned, come back later to see what's coming.
Friday, November 19, 2010
Jersey Scarf
A while ago I came across a scarf online that I thought was really cute and I wanted to re-create, I have looked and looked for the original but I can't find it which turns out doesn't matter because I ended up making a completely different one. I wanted to make it out of jersey but I was too cheap to actually buy some. I'd mentioned to Michelle that I wanted to make this scarf but didn't want to buy the fabric and then she had the genius idea to cut up a yellow duvet cover that she was no longer using. We had both seen this tutorial by Make it and Love it ages ago and Michelle knew she had to have one. Honestly I thought it was okay but I was more interested in the other I'd found. That is until Michelle got half done and it looked so darn cute that I abandoned mine to make one of my own.

This was a fun project that should have been easy and quick but three kids makes for a lot of poor productivity. What should have taken us no time at all took 4 hours and in that time only Michelle finished. I cut out the strips for us, (all 56 of them) and finished assembling mine at home later once Catie was asleep.
The only change we made to the original was the length, I'm not sure how hers looks so long in the photo because ours were much too short. We ended up adding 20 extra inches of fabric to the length. Here are a couple more photos.

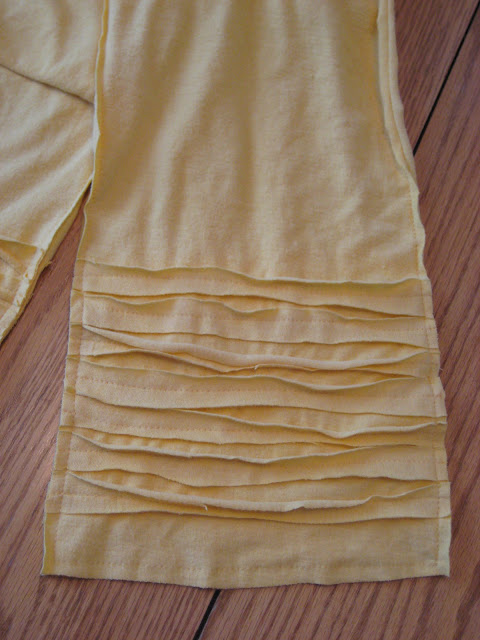
I gave it a real test today and wore it out on a Home Depot run, I stayed nice and cozy despite the cold weather.
You should check out Michelle's, it's super cute too.

This was a fun project that should have been easy and quick but three kids makes for a lot of poor productivity. What should have taken us no time at all took 4 hours and in that time only Michelle finished. I cut out the strips for us, (all 56 of them) and finished assembling mine at home later once Catie was asleep.
The only change we made to the original was the length, I'm not sure how hers looks so long in the photo because ours were much too short. We ended up adding 20 extra inches of fabric to the length. Here are a couple more photos.

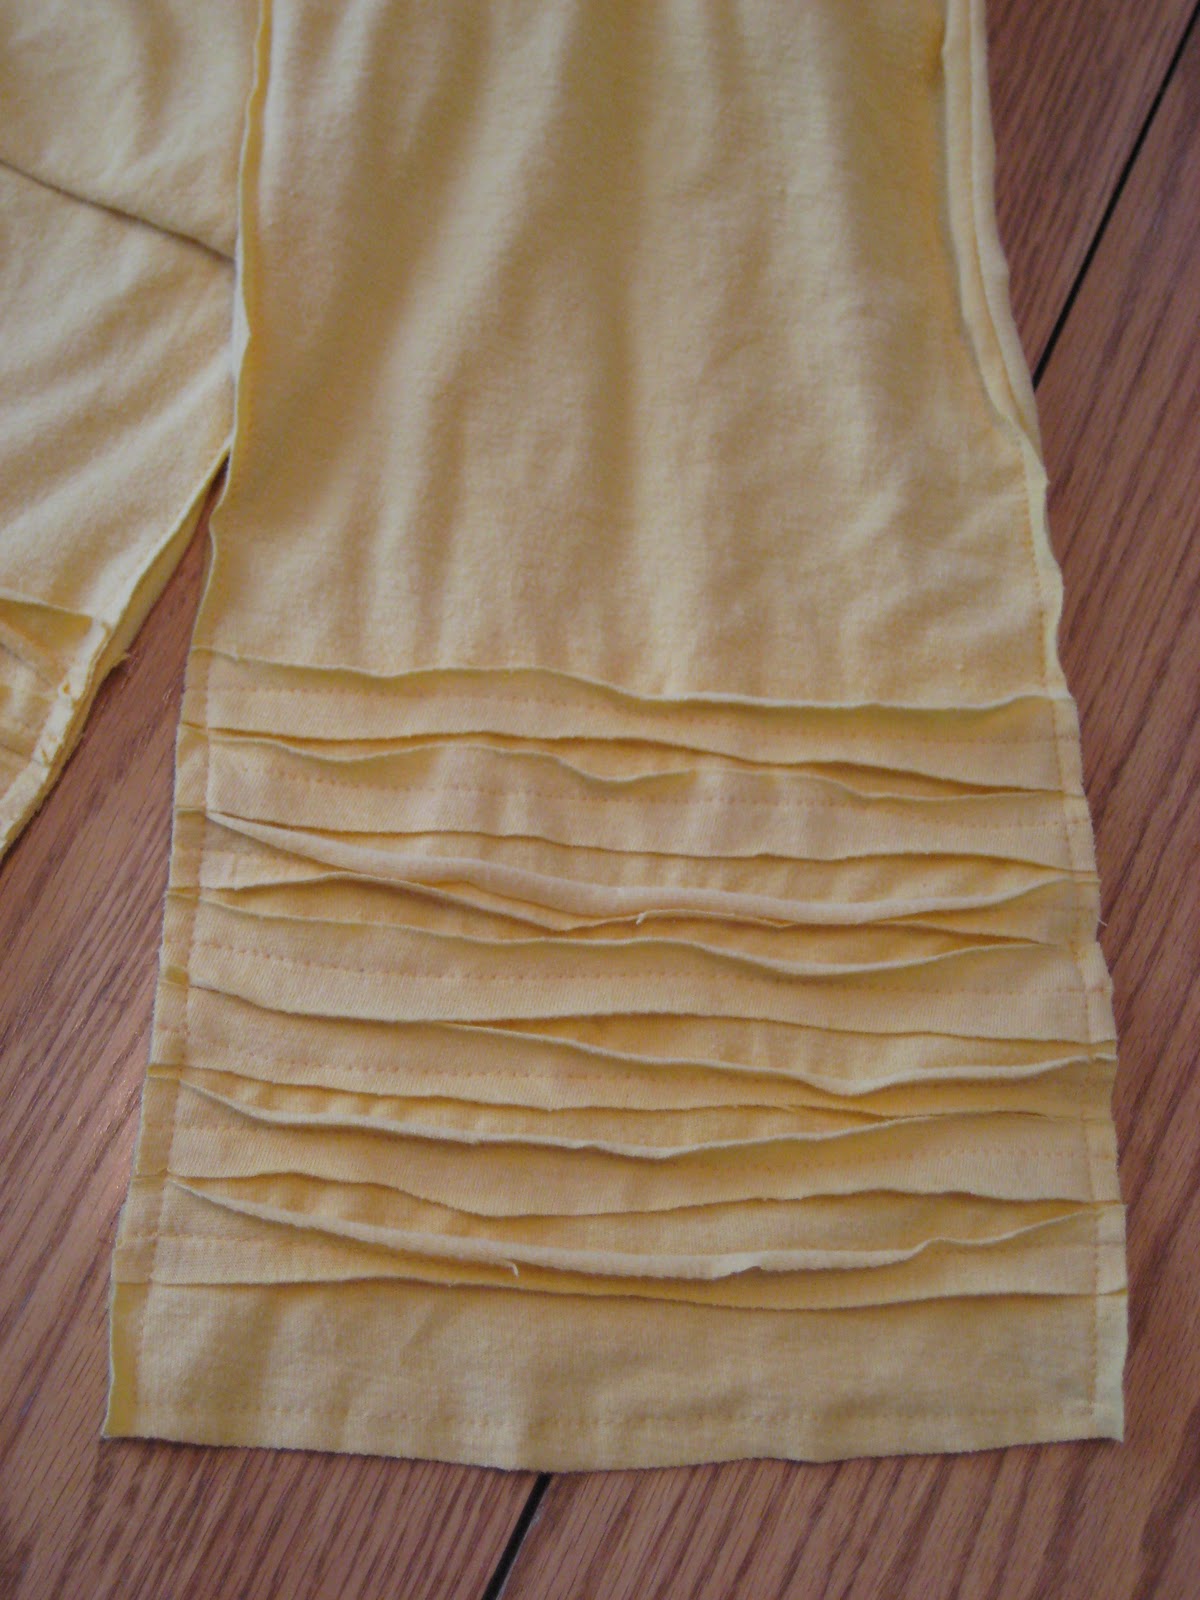
I gave it a real test today and wore it out on a Home Depot run, I stayed nice and cozy despite the cold weather.
You should check out Michelle's, it's super cute too.
Subscribe to:
Posts (Atom)